
While marketing automation (MA) systems and workflows are standard for most enterprise organizations, more mid-market companies and well-funded startups are also adopting MA solutions to elevate outreach efforts.
Interestingly, our clients tell us it’s often not the cost of marketing automation that’s prohibitive or the reason for putting it off but rather how daunting even the most straightforward implementations appear.
Fear not—it’s not as complex as it seems. Our healthcare technology marketing agency recommends a phased approach.
Assess your marketing automation needs: Lite vs. full-feature
The good news is that many solutions offer free versions of their comprehensive MA tools that provide enough features so you can take a phased budget and workload approach to marketing automation to reduce risk and stay sane in the process.
Option 1: Marketing automation lite
If your organization is new to MA and has a small sales team, you can start with an easy campaign, such as a monthly email newsletter. Using an inexpensive email system such as HubSpot, or MailChimp combined with WordPress landing pages, you can begin interacting with your existing contact list and test different approaches to engaging with your audience.
These lite systems have simple workflow tools, basic signup forms, sales support, and e-commerce integrations, so you can set up a starter drip email campaign and kick off your MA initiatives.
Pro-tip: Be sure to cleanse your in-house mailing list BEFORE sending your first email. We like NeverBounce for list cleansing, with prices starting at just $0.008 per email.
One con to starting with a lite automation system is that you may run into functionality limitations, where some features are only available for paid tiers or, depending on what solution you choose, you may have to eventually transfer lists and engagement data to a full-featured system, having to re-create forms and web landing pages.
But if you want to watch your budget and test without an annual commitment, it is a good place to start. Consider the future when selecting your MA solution to minimize the pain of migration; HubSpot’s free subscription is a great place to start, which allows for future upgrades in features without the loss of data or painful and time-intensive migration.
Not sure where to start, review these MA comparisons for insights into features and capabilities.
Option 2: Full-featured marketing automation
If you have a sales team larger than five people and already have a CRM, such as HubSpot, Salesforce, or Sugar, you should probably jump right to a full-featured MA solution, such as HubSpot, Pardot, Act-On, or Marketo.
Whatever option is right for your growing organization, here’s our ten step guide to getting started with marketing automation systems.
Break marketing automation implementation into steps
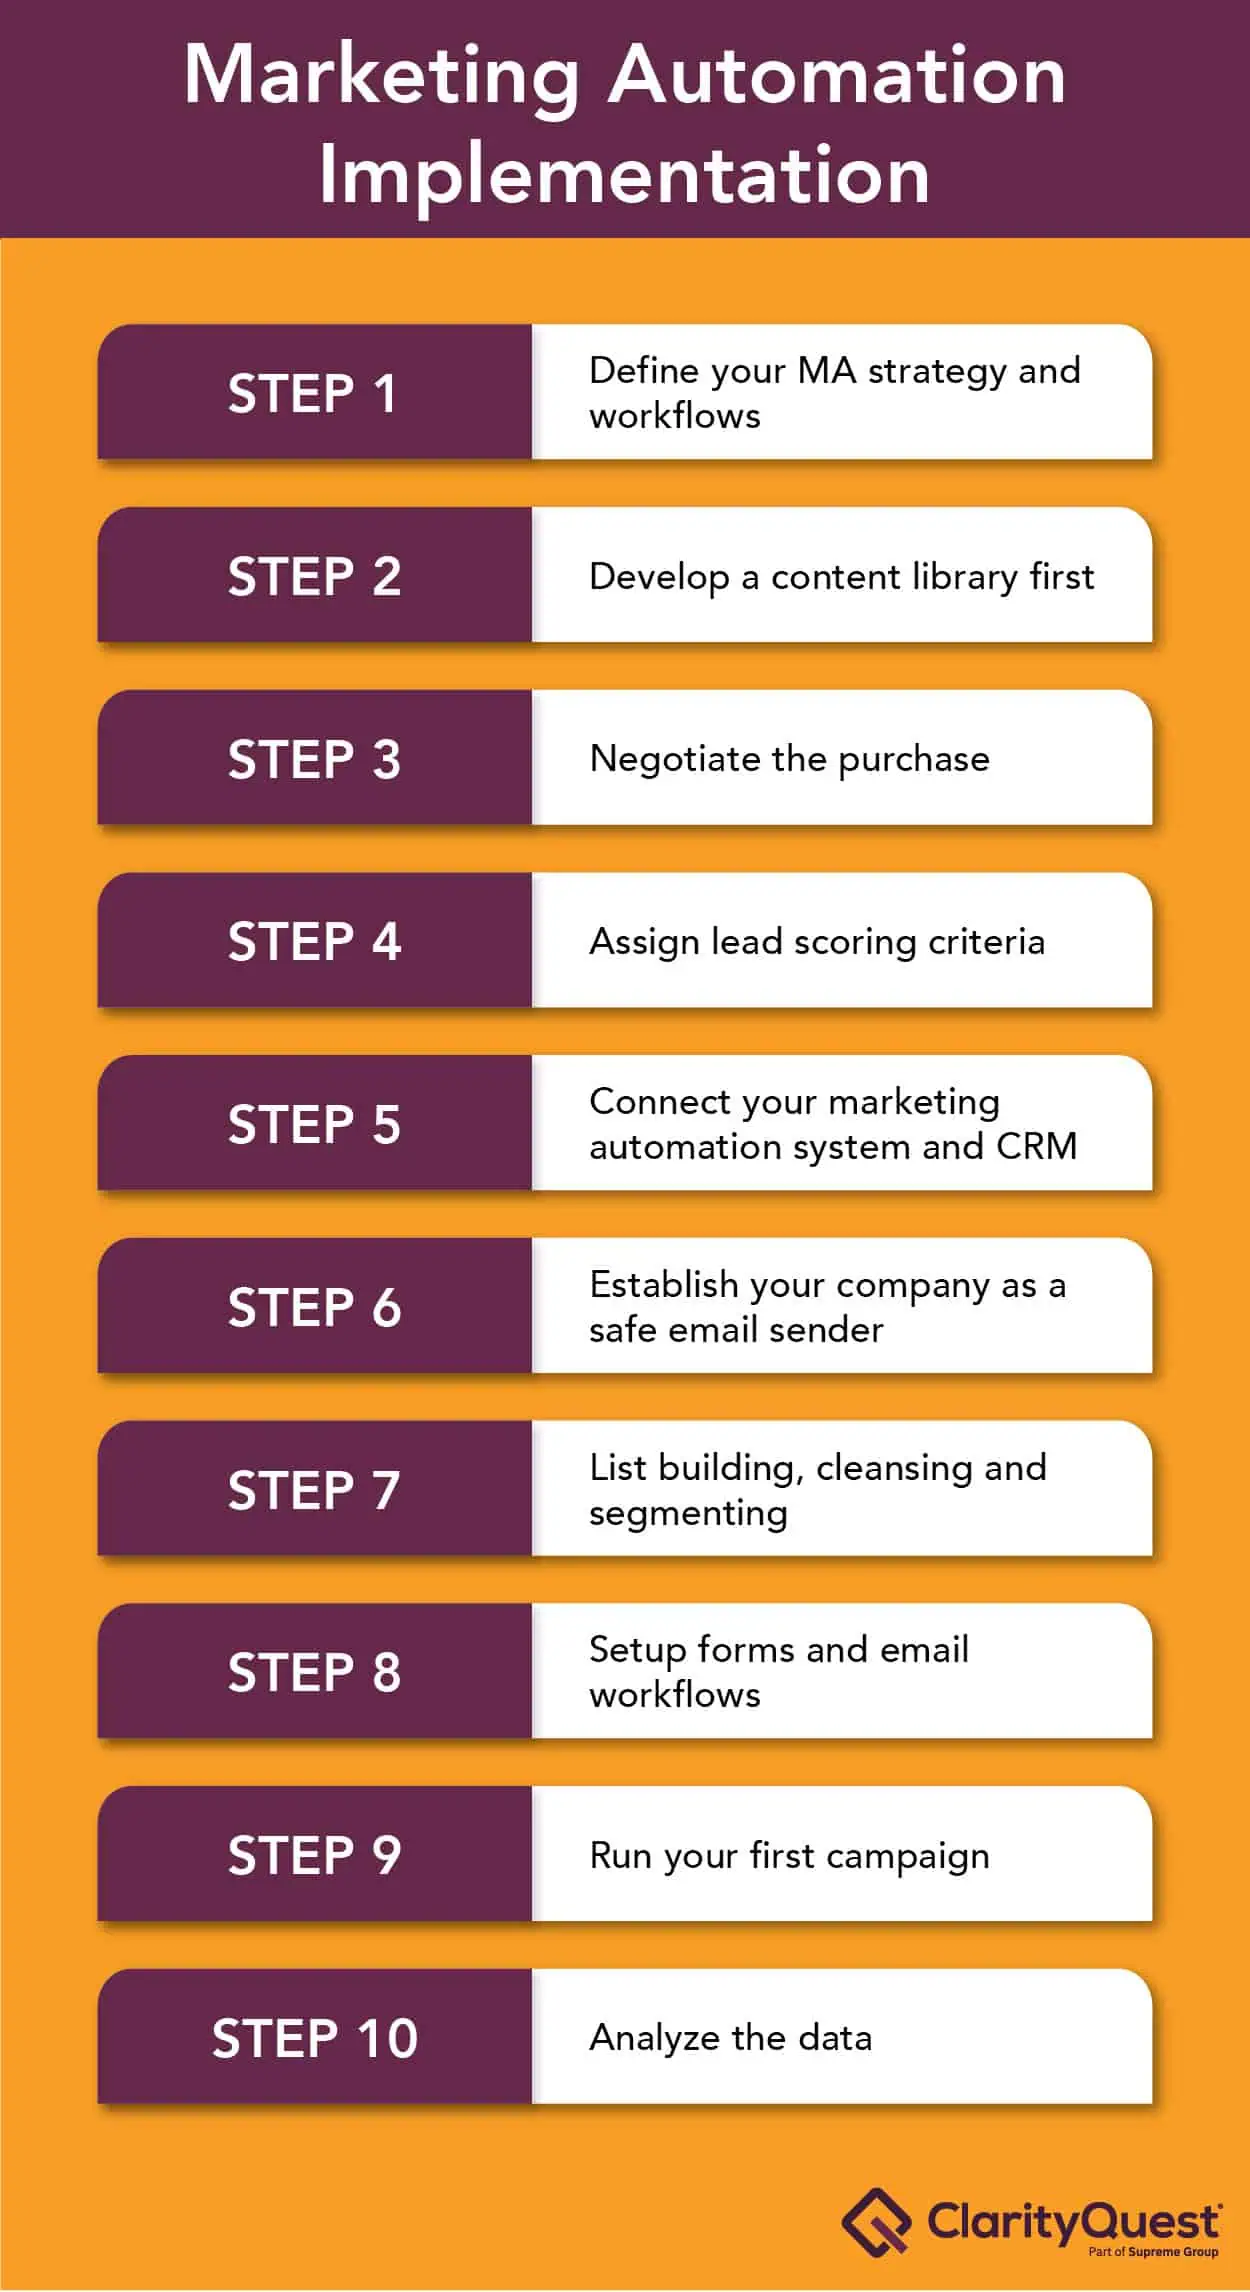
Step 1: Define your MA strategy and workflows
You don’t need to pay for the tool while you figure out how MA will support your business goals. Spending time before your MA purchase to map out requirements and flowcharts will ensure you select the best system and save time during the implementation phase.
Step 2: Develop a content library first
Too many companies buy an MA system but lack quality content to support their workflows, so they blast out sales offers, discounts, and promotions right out of the gate. That’s a surefire way to generate unsubscribes and tarnish your not-yet-developed email send reputation.
Sales offers should be the last step of the workflow, not the first. Instead, focus on educating readers about your company, its purpose, and what problems you can solve for your target audience.
Build at least one quarter’s worth of quality content upfront. If you have a small marketing team, you won’t be able to create content in parallel with the MA setup. A great place to start is by creating blogs; check out this article for five best practices for writing blog content.

Step 3: Negotiate the purchase
Each system has features and pricing differences, so anticipate spending 20-30 hours researching, watching demos, and negotiating with account managers. MA vendors are competitive, so don’t accept the first bid. Most MA companies want you to sign up for a one-year contract, but first-time buyers can usually negotiate a one-quarter plan, especially towards the end of the month when sales reps need to meet their quotas.
Step 4: Assign lead scoring criteria
In the hurry to get the first campaign out, it’s easy to see lead scoring as an afterthought. If you do this, you’ll lose out on valuable engagement metrics associated with your first campaign. If your MA solution offers lead scoring, don’t simply accept the default values in the system. Make sure to review the numbers and adjust the values to meet your particular business and sales goals.
For example, you may want to score case study downloads higher than product sales sheet downloads and website visits.
Here’s our B2B lead scoring template to guide you.
Step 5: Connect your marketing automation system and CRM
If you have a standalone sales CRM, such as Salesforce, connect your Sales CRM and MA system based on the requirements developed in Step 1.
Most MA systems offer a bidirectional sync. Ensure you have your integration setup, properties mapped, and contacts synced to your MA system before kicking off your first campaign. Many companies wait until after the first MA campaigns are sent, thus losing valuable data that should be captured in the CRM and available for your sales team to drive conversations with prospects.
Step 6: Establish your company as a safe email sender
Before sending the first email, become an authenticated and trusted sender. Work with your internal IT personnel (whoever controls domain and email hosting) to update your DNS (Domain Name System) settings and set up SPF (Sender Policy Framework) and DKIM (Domain Keys Identified Mail).
The SPF record authorizes specific mail servers to send email on your behalf and DKIM is an authentication protocol. Your MA support team will have specific settings for you to update at the DNS level. With these steps complete, you become an authorized email sender of your domain and less likely to have your emails flagged as spam.
Step 7: List building, cleansing and segmenting
Loading a clean list and choosing the best segmentation criteria is a must.
Once your MA setup is complete, cleanse your distribution list. Use a third-party cleansing vendor, such as NeverBounce or BriteVerify. Remove the “hard bounces” from the cleansed list and upload the remaining. If these contacts exist in your MA system already, import the list with their cleanse status so you can exclude any that have hard bounced. Allow the soft bounces from the purged list to remain in the distribution list until you’ve sent the recipients 1-2 emails before permanently removing them.
One best practice is to update your lists by removing spam complaints, hard bounces, and routine soft bounces from your list after each distribution.
Every quarter, you should segment inactive records from your main distribution list. Inactive records include recipients who have not opened your email over the course of 3-6 months. One of the benefits of using HubSpot as your MA system is that it identifies and offers a checkbox to exclude contacts who have not opened your last 11 marketing emails. Removing inactive contacts from your main list helps achieve better engagement and deliverability rates.
On average, at least 25.74% of an email list decays within just one year.
And it goes without saying that in 2024, you should not purchase an email list, as even quality list companies have incorrect email address rates of 20%. If more than 10% of your emails bounce during a campaign, most marketing automation systems will suspend your account for noncompliance with spam rules.
Step 8: Setup forms and email workflows
Forms are an essential foundational element of your MA tool. From customer intelligence to lead nurturing, forms allow you to learn more about prospects, which campaigns are working, and which content resonates with your audience.
Determine the forms needed for each campaign and use these forms to gather more information about prospects, behavior patterns, etc. Use forms for gated assets (e-books, white papers), specific sales engagements (demo requests), webinar signups, and information requests.
Establish a form workflow that includes an auto-reply email to the contact after the form is completed. Upon submission of the form online, send a “Thank You” email that includes additional helpful information and an appropriate website redirect. You can also set up an internal email alert to notify the appropriate internal team when a form is submitted.
Use every opportunity to engage visitors and anticipate their needs with targeted helpful information.
After you get the basics down, you can move to advanced progressive forms that ask for more information each time the visitor engages and update your CRM with the information and lead score.
Step 9: Run your first campaign
You’ve loaded your cleansed list, prepared your email assets, content and forms. You’re now ready to run your first campaign!
Content is key to any campaign’s success. Ideally, a nurture campaign should include four to six pieces of content useful to the personas in your target audience lists. Each campaign should be distributed to a specifically targeted list and include a clear call to action or information share.
Examples of more sophisticated campaigns include:
- Behavior-based campaigns that distribute additional content based on prior interest
- Funnel campaigns to distribute content to prospects based on their current funnel placement
- Persona campaigns based on their company or job title
Analyze each campaign’s results and make necessary adjustments, such as changing frequency, content topic, or the specific distribution day and time.
Step 10: Analyze the data
Hopefully, you determined the metrics important to your organization in Step 1. Double-check that your MA is set up to collect and analyze these metrics and adjust as needed.
Measure the data monthly if your campaigns run monthly or develop a timeline based on the campaign flow. Suggested metrics include:
- Email click-through rates based on deliveries (not sends)
- Engagements with form submissions by type (“Contact Us,” “Demo,” “White Paper,” etc.)
- With sophisticated tools, measure campaigns based on form submissions related to specific emails, social interaction, etc.
Most MA systems have online dashboard reporting, although there are significant differences in the report detail between the less popular baseline systems and, for example, HubSpot, Marketo or Salesforce. Be sure to evaluate reporting and analytics before you commit to a system long-term.
Implementing marketing automation systems is worth the pain
While initially daunting, breaking marketing automation implementation into chunks makes the effort far easier.
Start small and test simple workflows and campaigns first. Within six months, you’ll start to see your efforts rewarded with more insight into your prospects’ interests, higher-qualified leads and a path to usher leads who are not quite ready to purchase into the next phase of the sales cycle.
Note: This blog post was originally published on October 2nd, 2017, and has been updated to reflect new information.
